Supplies: Pattern Paper, Chipboard, 3D Embellishments-3 Birds Design (Graceful Season); Stamp-3 Birds Design (Midday Medley); Punch-Martha Stewart; Cardstock-WorldWin Papers; Ink-Prima Chalk Ink; Adhesive-Therm O Web
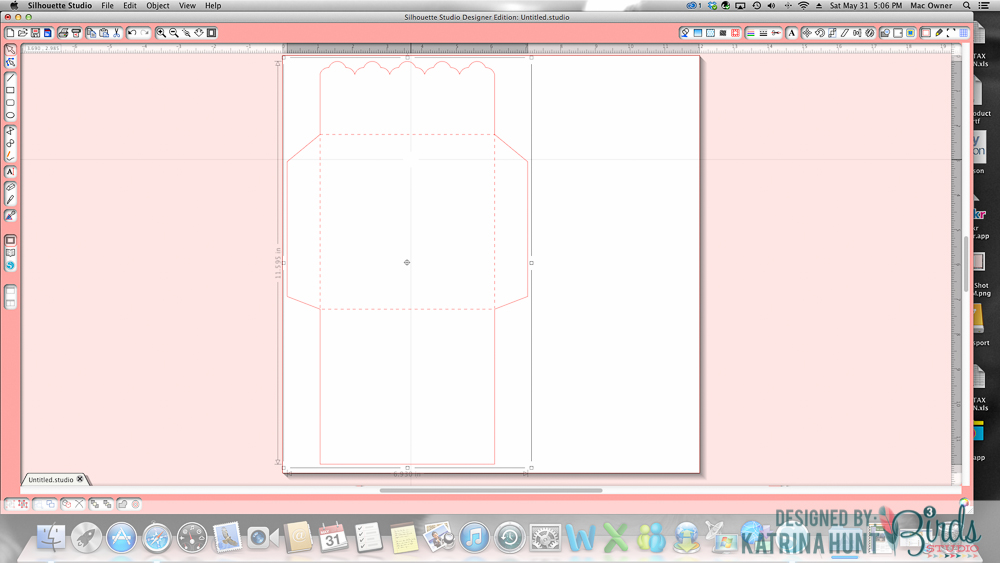
Silhouette Cameo with the following cut file:
Decorative Square Envelope
Design ID #42058
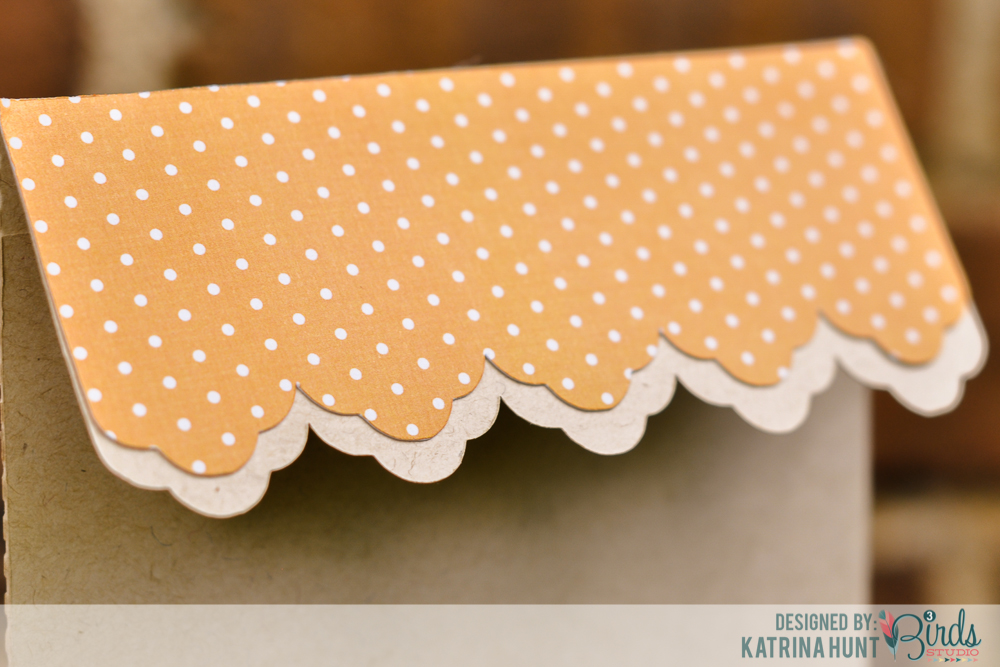
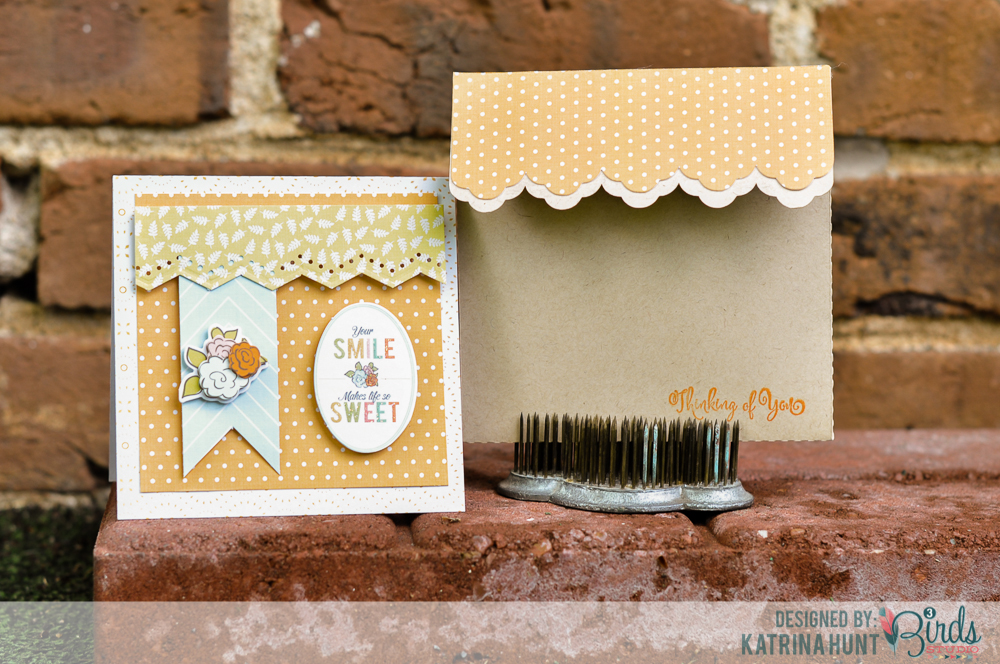
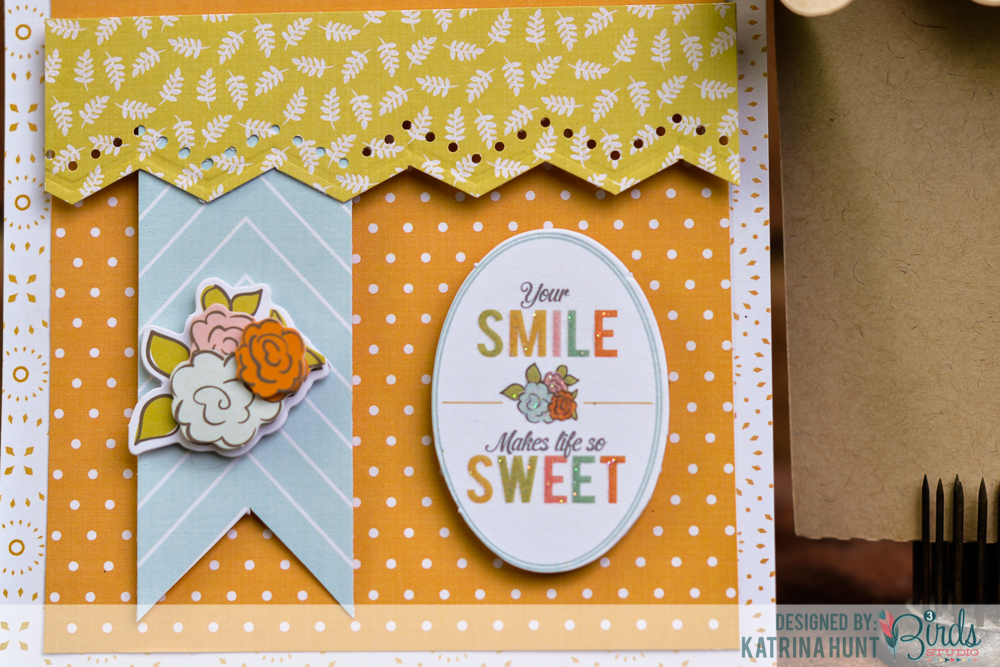
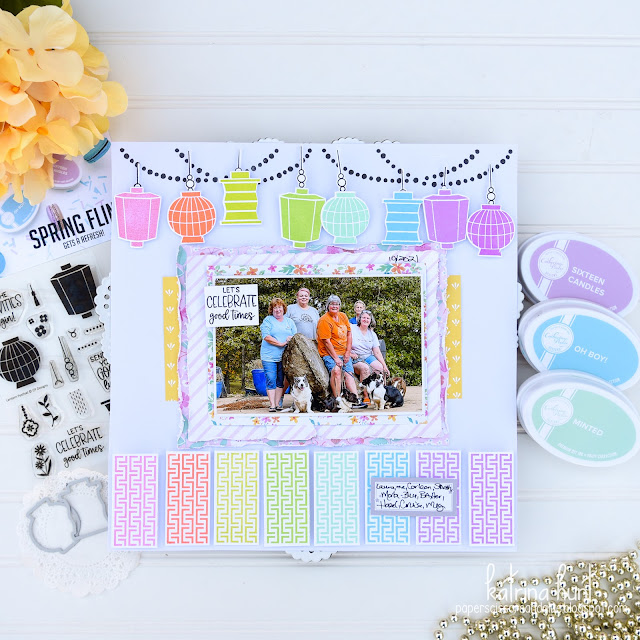
Close up of the card. I used Therm O Web 3D Foam Squares to pop up that top border and then the fun chipboard from 3 Birds.
Silhouette Cameo with the following cut file:
Decorative Square Envelope
Design ID #42058
Close up of the card. I used Therm O Web 3D Foam Squares to pop up that top border and then the fun chipboard from 3 Birds.
So, to make the envelope, I opened the the cut file and resize it to fit my 4.5 x 4.5 card. I actually made the inside square 5 x 5. I just moved the image around until I could see on the guides that the inside square was sized at 5 x 5. Then cut this out of cardstock, or whatever paper you like.
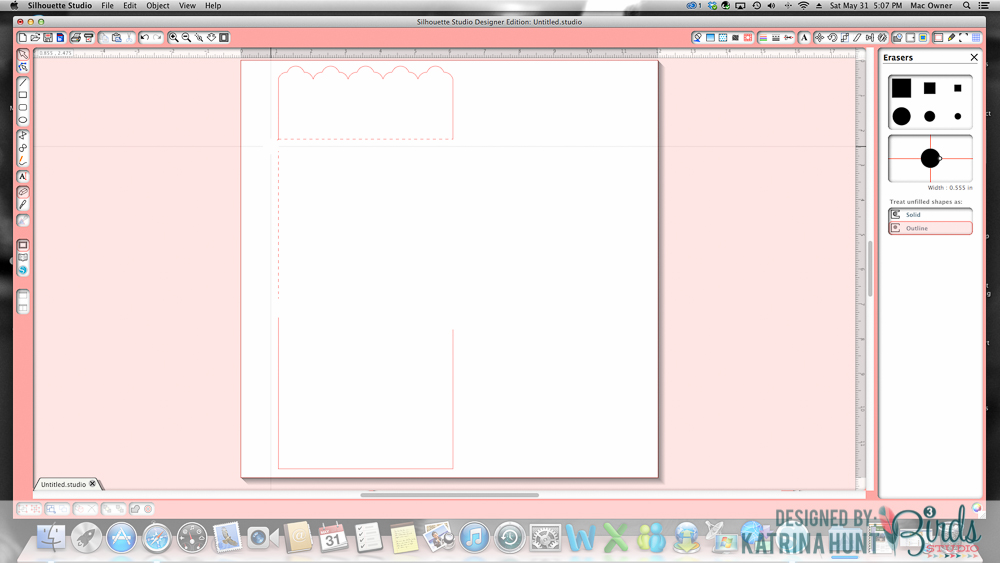
After you cut the file, then you are going to use the eraser tool to erase the extra lines that you don't need. I just picked the biggest round eraser and went to work. Leave the top part of the envelope and the score lines for the top part. Anything else, erase, erase, erase. This also helps you save paper. Once you have everything that needs to be erased done, cut your file again, using a coordinating paper.
IMPORTANT: DO NOT RESIZE THE FILE AT THIS POINT.
Your strip will look "funny" if you resize, because it will mess up the proportions of the piece. LOL
IMPORTANT: DO NOT RESIZE THE FILE AT THIS POINT.
Your strip will look "funny" if you resize, because it will mess up the proportions of the piece. LOL
Then pull off your mat and use your trimmer to trim at the score lines. I then trimmed a little more off the top, so that I could use the cardstock as an accent at the bottom of the scallop.
So that's it! That is how you alter the file to create a custom envelope! How fun is that. I have actually used this twice now and plan on using it more. Thanks for stopping by today.







O WOW I Just LOVE IT!! THANk YOU!
ReplyDelete